

Johnny Joints are a complete mofo to assemble.

Johnny Joints are a complete mofo to assemble.
*bass noises*

Here come old flat top, he come

Groovin' up slowly, he got

Joo joo eyeball, he one

Holy roller, he got

Hair down to his knee

Got to be a joker, he just do what he please

*bass noises*

Those subie wheels on the mini tho...

when snow nuts?

Gonna need you to move that wing back and mount it before continuing any other work.

I love roller day. Looks phenomenal!
cghstang_chris said:when snow nuts?
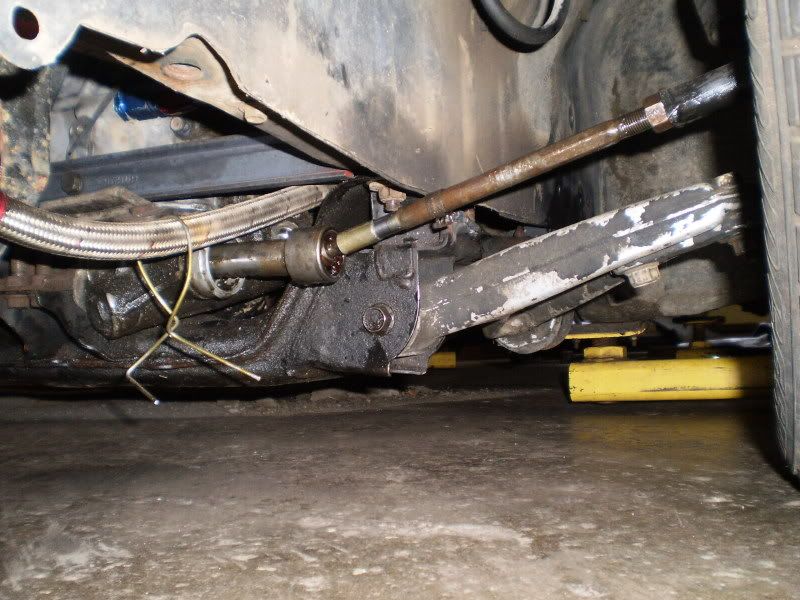
Just need to finish the steering column, which is probably next weekend because a lathe will be needed.
And build the floor. Not sure how the rules mandated 16ga steel is going to get bent for that. Going to start at the back and work forward.
And figure out how the cooling system will be plumbed. Have several ideas but getting the suspension laid out needed to happen first.
Getting 1.8 Impreza brakes would be nice, or some 14" aluminum wheels. Preferably both.
The engine is still in pieces, want to put new exhaust valves in it but other expenses come first.
The trans really should be gone through, but not critical. What IS critical is building a trans controller.
Then the wiring. And the plumbing.
Probably should sort the intercooler situation at some point too.
Then cage and seats.
After the cage we can worry about ducting to the radiator.
Somewhere in all that is modifying the brake pedal, making and mounting the handbrake, sticking an air filter somewhere, and about eleventy dozen other things.
Simples.
I also have some concerns.
The front suspension has no springs because one of the things that has to happen is spring hats have to be made. And coilover sleeves found and acquired.
The suspension on its stops is perilously close to stock ride height, I think. Need to measure. Rear suspension is almost topped out, but there is also nothing back there yet - no diff, no floor, no battery, no 90lb of fuel. So it will get lower, hopefully. At least I feel real good about where I put the strut towers.
When I dropped the car on its front, though, the floor jack was trapped under the subframe. And it needs to go lower.
I am really concerned that the front subframe is too low. When I FC swapped my FB, I mounted the subframe expediently and this led to the subframe being about an inch too low and the handling was like driving a toilet, to borrow a bike phrase.
So the NEXT step is to measure the control arms against a similar chassis Subaru, compare and contrast.
I do have those 1" spacers that could be removed.... except the floor was welded in to this engine position. And there is no more room for "up" hoodwise.
Dropping the engine on the subframe so the subframe could be raised could be one possibility as the Subaru mounts are rather tall, except then the trans and up pipe would foul on it.
One thing I did note is that there is an extreme amount of bumpsteer. More so than I feel is good. Like 2 inches of toe change from droop to bump.
I may be able to exploit this.
Ride height about here in front, going by an extensive GIS of presumably stock R53s and eyeballing the rocker crease to hub centerline.

Front is on a floor jack, rear is almost topped out. May need to employ softer springs or tender springs or both to get the rear down, will see.
Front control arm angles are at 3.5-4 degrees.

Control Subaru is, uh, 12 degrees.

Of course the control is a Forester XT not a GC/GD, but still.
There is no room to move the subframe higher per hood clearance. Redrilling the control arm pivots can gain an inch of up, which will change to 8 degrees, if I have my trig right.
I am thinking let's just go with what we got and see how it does.
Rear track with the 1" spacers for the Impreza 13" wheels to clear the brakes is 59". Front track with Legacy 15" wheels is also 59". The highest point of the car is 56". Roll cage will thus be about 54". So! We have room to go higher in the front and not fall afoul of the 1:1 track:height rule!
So, that ride height? 17" to the 19" hub mark I made... after the engine and trans were out. Derp.

Drop the jack to see how much bump there is, and it moved about a half inch.
uh.
Raised it all the way to see how much stroke there is. 23".

Lowered the car to 20", mid stroke, and we are here.

Kinda high.
Dropped it an inch, for 2" compression and 4" droop.

Hm.
Flat four hanging out between an axle and the bumper, the engine end of the car must be the back, right?
I have to clear the transmission and exhaust while leaving enough room for a human to drive it. While wearing shoes.
I took a lot of pics before the engine/trans/exhaust came out. I also very sloppily cut and hacked at the floor, that needed to be tidied up before I could start filling holes with metal.
First is the left side "inner chassis rail". Plug the hole thus:

Then spent a good deal of time straightening the left side firewall/floor area out after the Sawzall had bent the hell out of it. No pics.
This is what I need to clear. Tab on the floor is the original accelerator pedal bracket, for reference.


Connection flaky, will finish update in a bit
I have a few ideas on how to close that up but not sure what I like best, and might come with a better idea later, so... let's look at the right side.
It was ugly.
What I hacked and bent and uglied to get the trans and exhaust in place:

Note the innovative "hack a cut and shove metal out of the way" method of metalwork on the right side. Also the Sharpie marks on the right side firewall.
The marks are for where some clearance would be nice if removing the band clamp in chassis is something desirable.

Not in contact, but also not enough room to remove the clamp.
The exhaust sits here:


(and about ten more pics...)
Started by clearancing off the firewall for band clamp clearance. Then the part that sucks, sucks, suuuuuuucks: Wire wheeling off that lovely BMW seam sealer.
And discovered a layer of sheetmetal I didn't even know was there, on the floor section. Just a half inch or so, basically a spot welded strip on the edge.
Metal was far too flimsy/flexible to use the spot weld bit, so I hit the strip with the flap wheel to thin it some, and air chiseled as much of it off as I could. You can imagine how well that worked. But necessary, because it seems like BMW spot welded panels through the seam sealer, or chassis adhesive, or whatever it is. So the only way to really remove it is to separate panels.
With a mind to maximizing how much footwell space there is, because it will get a lot smaller once the cage is in the way, I ended up trimming/re-forming/angling/crossing fingers here.

I thought I'd got pictures of straightening out the Subaru part, trying to bend it, trimming, etc but apparently did not.
Patch panel for the first, most critical section at the back is made, but not welded in because welding it in will require popping the right half of the front rearward subframe off the car, and the car needs to be able to roll for garage rehab reasons.
Really need a lathe or some other way to accurately center this.

Amon Amarth on the radio, welds going perfectly


Running low on gas, primered underside while car was superhigh.
Bending 16ga without a brake sucks

Center in lathe, tack weld, trim off a little where it was not perfectly centered, finish weld, remember welder settings are different on 110 vs 220, use lathe to cut most of the weld off, change settings, clamp ground back on and notice that the end of the shaft is crooked, re-enter with hammer and using the Y axis as a dial indicator, reweld using correct settings, set up lathe to do a cleanup trim and find that it only wants to trim the parts that did not get cut with the first cleanup, call it good

Now to get the welder back out of the basement
I figured out how to do this about five minutes too late to pick up what I need from the hardware store.
Cut through the magnesium bearing mount... no pressure

Those pins are 8mm. I want the quickener mount to pivot on the pins. Popped the bushings out...

The housing they pressed into was 10mm ID.

The pins are staked on the outside but can be pressed inward.
So, what I need to do, is make the quickener mount with 10mm holes to take the bushings, in such a way that it is assembled by pushing the pins in from the inside and locked in place.
berk the column, everything sucks. it's floor time


I promise I am not making broom-broom noises


Clearly the brake pedal must move over a lot.

Boom. Pedal. A little licorice flavoring and it is done.

I think I now have a way of installing a hanging cable-type accelerator pedal where a floor hinged drive by wire pedal was.
Just bolting it to the firewall was not an option. The firewall is decidedly NOT flat up there, and why should it be?
Annoyed and wanting some more data, I made and installed the passenger side tunnel panel.

My view as I left for the weekend

Thinking about springs. Might need to use a tender spring setup in the front.
I also have some AFCO progressive coilover springs. They are, by recollection, 175/350 pound. 175 pound until the softer coils go into bind, then 350 pound.
It is at this point that Chevy Chase need leave the room, because there will be math.
I would like to know at what point in the travel the rate switchover happens. It is not as simple as measuring the travel of the soft section, because the whole spring gets loaded, so the main section will compress too. So the rate of the whole spring is 175 until the coil bind, then it ramps (rather quickly) to 350. The only known that we have is the main rate of 350. I need to know the rate of just the soft section.
The formula for calculating the rate of stacked springs is:
(Spring1 * Spring2) / (Spring1 + Spring2) = TotalRate
We know the total rate and Spring1.
(350 * x) / (350 + x) = 175
Multiply both sides by (350 + x)
350x = 61250 + 175x
Subtract 175x from both sides
175x = 61250x
x = 350
...
I suppose in hindsight, I should have just been able to infer that...
You'll need to log in to post.


